User acquisition professionals generally work with multiple ad networks and try to improve the performance of their campaigns in each channel. One of the features that UAhero offers is the ability to optimize your campaigns across channels with its Optimizer. Running an Optimizer simplifies the process, gives you flexibility and freedom to optimize your cumulative ad spend while also saving a considerable amount of time. To create an Optimizer, all you need is an app or a game, connected ad networks and a couple of clicks.
What is an Optimizer?
Before getting into how an Optimizer is created, it’s a good idea to briefly explain what an Optimizer is and how it works. We like to think of an Optimizer as a basket, in which you can put one or more campaigns which are running one or multiple ad networks, as long as these campaigns have the same optimization objective (e.g. achieve a ROAS of 150%, or minimize CPI, etc). Once this “basket” is filled with campaigns and the objective and other parameters are set, the Optimizer runs every day to produce recommended actions for all of your campaigns at once.
Creating an Optimizer
In order to create your Optimizer, you need to click on the “New Optimizer” button in the top section of the screen.

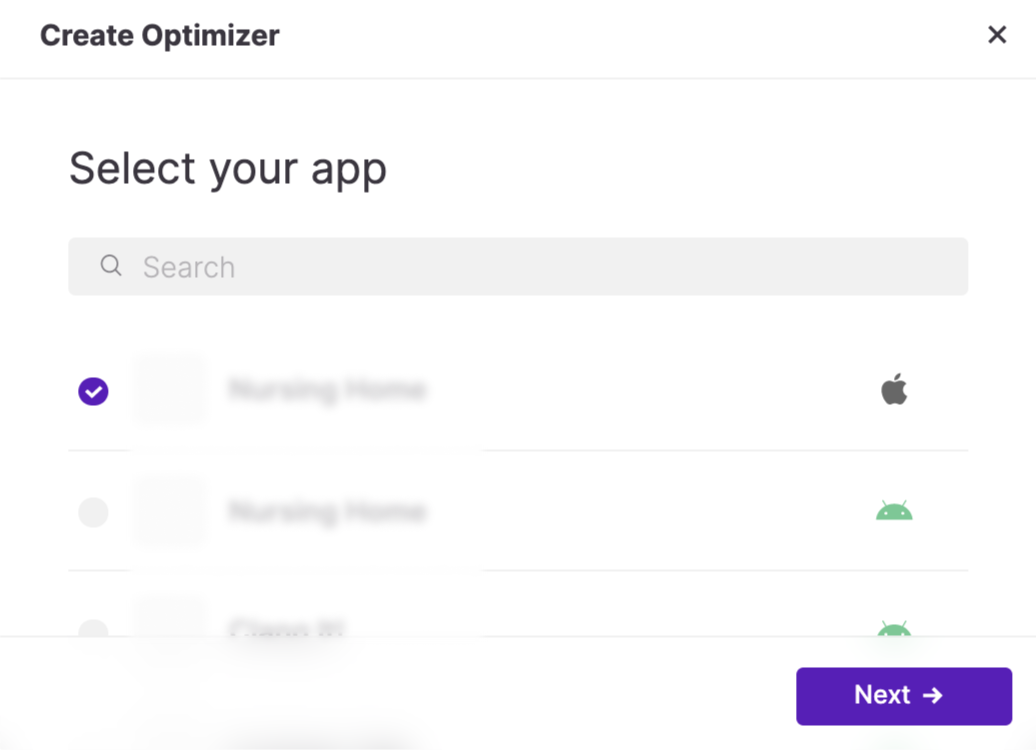
A pop-up window will appear, where you’re asked to select an app by either scrolling down or simply searching for the name of the app. Click on the app you’d like to create the Optimizer for and then proceed by clicking on Next.
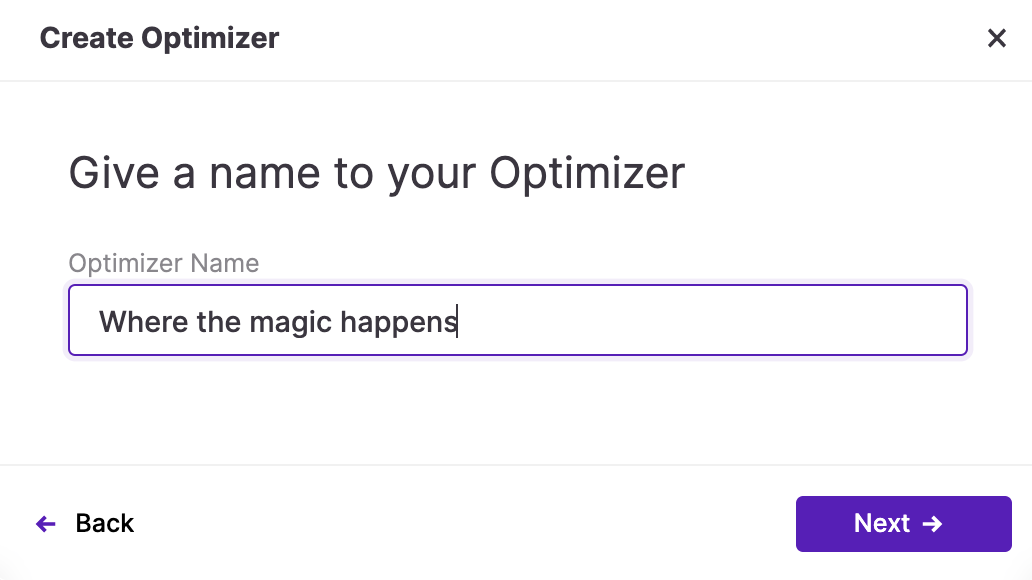
In the next pop-up screen, you’ll be asked to give a name to your Optimizer. Once you do that, you can click Next to continue with the setup process.
Following the naming of the Optimizer, you’ll be asked to select one of the two options for your optimization mode; Target ROAS or Max Installs.
The main difference between these options is that the maximum installs optimization brings the lowest possible Cost per Install and the highest number of installs for a given budget. ROAS-based optimization focuses on bringing the highest possible Return on Ad Spend instead of install numbers from your campaigns in the Optimizer. Once you decide on your objective, you can move forward with setting up the optimization basket. If you select Target ROAS optimization mode, you’ll have an additional step to complete.

Target ROAS Optimization Mode
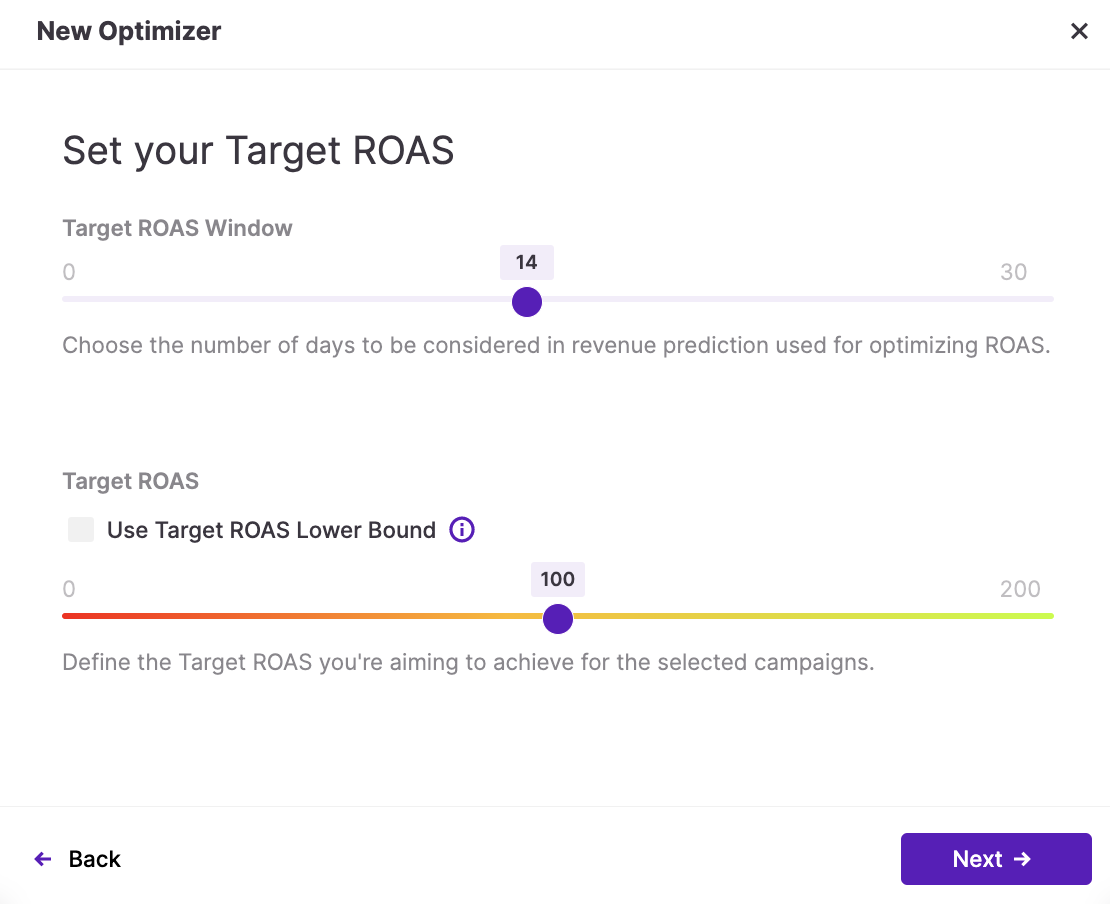
When you’re using the Target ROAS mode, you should enter an estimated number of days to be considered for LTV prediction. This number is just used by the AI algorithms as a starting point. The AI algorithms then work on the most granular level, to predict the lifetime duration and value of your target audience for each source app or ad set, which is used to produce the recommendations for optimization.
Next is to set up your ROAS Goal, which is usually driven by your UA strategy. The algorithms will optimize and make recommendations with the objective of meeting the target you set. Since the ROAS target may vary over time, depending on factors such as the maturity of your campaigns and the popularity of the app, you can change it at a later date without having to create a new Optimizer.
Selecting the campaigns
The next step is selecting the campaigns you’d like the Optimizer to work on. At this stage, it is crucial to keep in mind that you can’t put a campaign in two different Optimizers at the same time. If you’d like to add a campaign that is already in another Optimizer, you’ll receive a warning stating that if you proceed the campaign will be removed from the existing Optimizer to the new one you are creating.
.png)
You can skip this step if you’d like to and complete it later on. If you click on “Skip this step” or complete the step and click “Next”, you’ll be able to set the schedule for your Optimizer.
Setting the schedule and budget
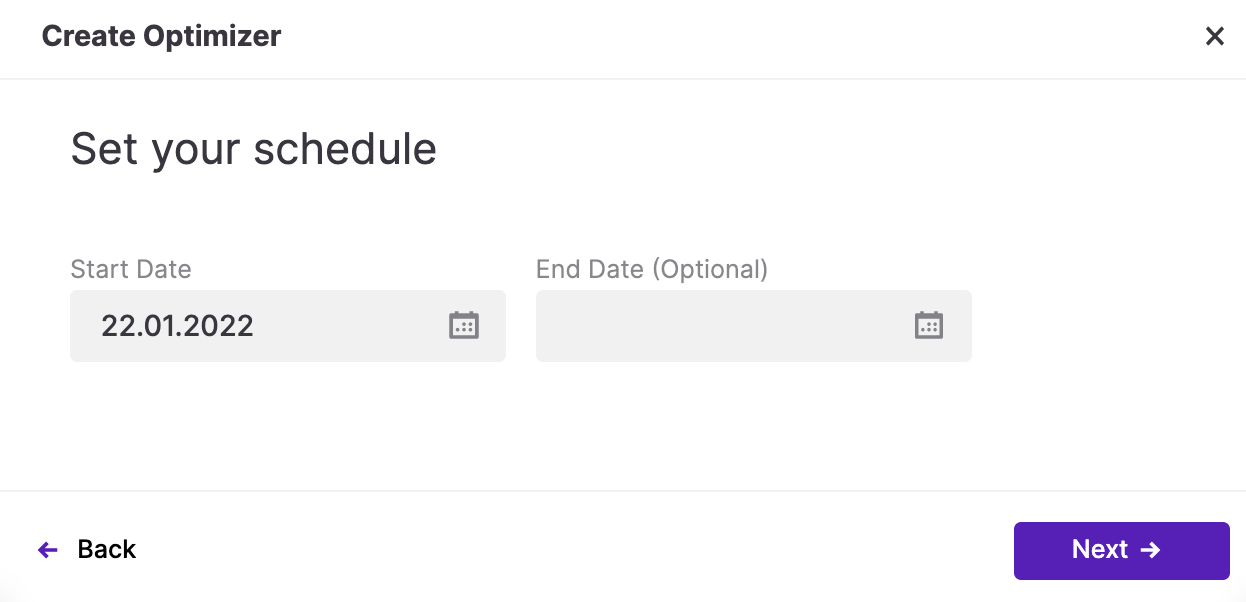
The Optimizer can be set to start as early as the next day or at any future date depending on your strategy. While stating the Start Date is required, you have the option to leave the End Date box empty, in which case your Optimizer will continue its work until you stop it manually.
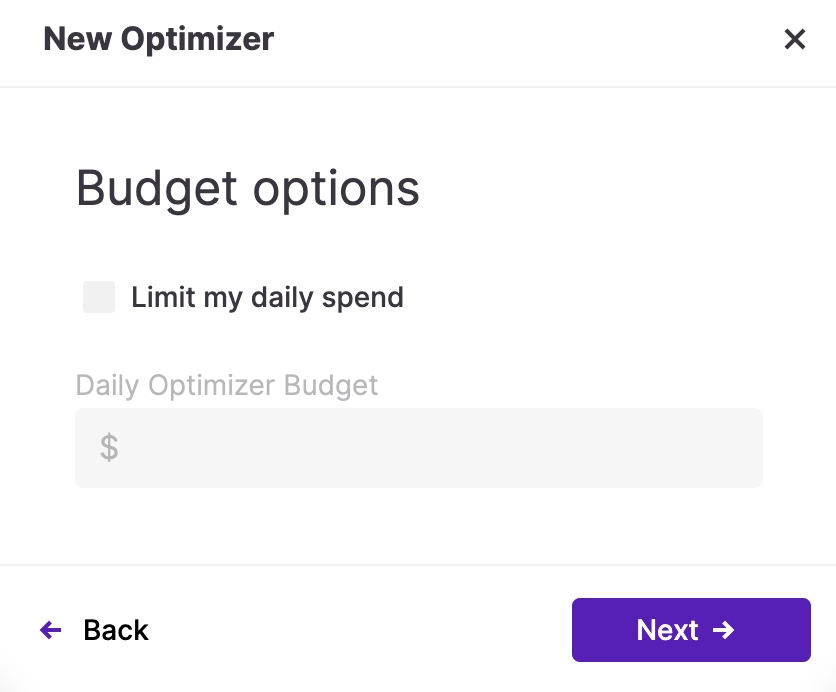
For the last step in creating an Optimizer, you’re asked to enter a daily budget for the whole Optimizer basket (i.e., not for individual campaigns in the Optimizer). This feature allows you to put a limit on how much money is spent regardless of how well the campaigns are going. This step is optional for the ROAS optimization mode, however, for Max Installs, you should set a daily budget for your Optimizer.
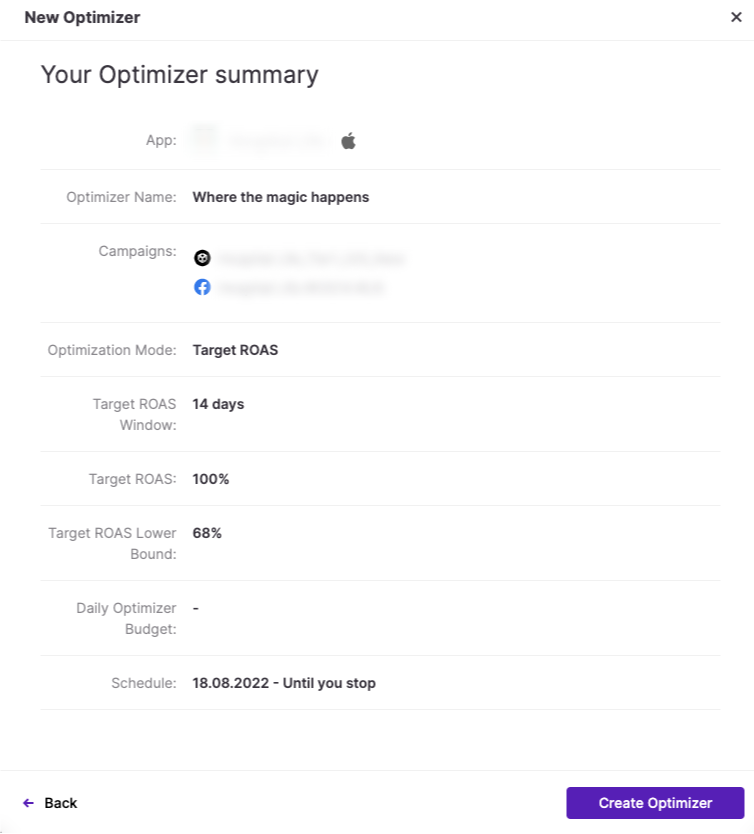
In the final step, you’ll see a summary of all the details you entered in the previous steps. If you’re happy with the setup, you can go ahead and click on “New Optimizer” to create and run the Optimizer. However, if you want to change the variables, you can click on the “Back” button to apply changes.
Viewing the Optimizers
After the Optimizer is created, UAhero will run its artificial intelligence algorithms in the background and provide you with daily recommendations to manage your campaigns. Tracking and applying these recommendations will improve the outcome of the campaigns in the Optimizer and move you towards achieving a higher performance.

When you click on “Optimizer” in the top section, you’ll land on the page where you can see the list of all your Optimizers and their start and end dates, mode, budget and campaign count. You can click on the little pen icon next to each Optimizer to change its settings from the summary pop-up of the Optimizer you selected. While viewing the pop-up screen, if you move your mouse icon next to the variable you entered, a “Change” button will appear. You can apply the quick changes by clicking on the area. In addition, you can stop the Optimizers without an end date from running by clicking on the “Stop” button.
Please note that stopping the Optimizer doesn’t stop the campaign from running in the ad networks, it stops UAhero from providing optimization recommendations for the campaigns in that particular Optimizer basket.
.png)
Next up, we’ll cover the Recommendations screen and how you can maximize your benefits from the recommendations UAhero shares with you based on your Optimizer settings.


